
In this guide you will learn how to set up your own Vechain Thor node that can connect to main or test net. For this, we will be using Docker and assume you are running a Windows OS.
Step 1: Install Docker
Wikipedia defines Docker as
An open-source project that automates the deployment of software applications inside containers by providing an additional layer of abstraction and automation of OS-level virtualization on Linux.
In simpler words, Docker is a tool that allows developers to easily deploy their applications on any computer, without having to worry about the Operating System or system settings of that computer.
What it means for us, is that with Docker we can get a Vechain Thor Node and all of its dependencies up and running by simpling deploying a Docker image. So let’s go and get started by setting up Docker!
[fruitful_alert color=”alert-info”]Terminology- Images – The blueprint of an application which forms the basis of containers. Use the
docker pullcommand to download an image. - Containers – Created from Docker images and run the actual application. We create a container using
docker run.[/fruitful_alert]
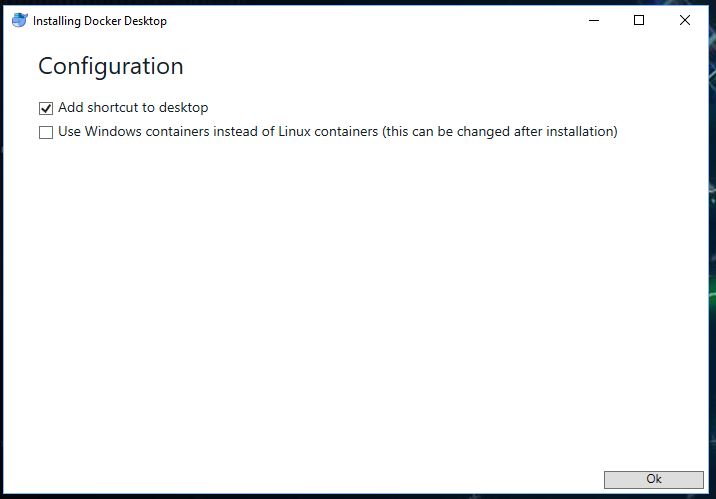
Create an account on Docker.com and once logged in go to the docker store to download the Docker Community Edition for Windows install file. Once downloaded launch the installer.
Once restarted start a Windows Command Prompt by hitting your Windows + R key and typing cmd.
docker run hello-worldYou should see the following message if you installed docker successfully:

Step 2: Pull and Run the Thor docker image
First we download the latest Vechain Thor docker image. This Dockerfile is designed to build the last release of the Thor source code and will publish docker images to dockerhub with every new release.
docker pull vechain/thor
Once you have pulled the docker image we can run our vechain node by running:
docker run vechain/thor [global options] command [command options]
The following commands and options are supported:
Commands
solo client runs in solo mode for test & dev
master-key import and export master key
help, h Shows a list of commands or help for one command
Global options
| Command | Options | Explanation |
|---|---|---|
--network value | main|test | the network to join |
--data-dir value | directory for block-chain databases. Default is /root/.org.vechain.thor | |
--beneficiary value | address for block rewards | |
--api-addr value | API service listening address. Default is localhost:8669 | |
--api-cors value | comma-separated list of domains from which to accept access | |
--api-timeout value | API request timeout value in milliseconds. Default is 10.000 | |
--api-call-gas-limit value | limit contract call gas. Default is 50.000.000 | |
--api-backtrace-limit value | limit the distance between 'position' and best block for subscriptions APIs. Default is 1.000 | |
--verbosity value | 0-9 | log verbosity. Default is 3 |
--max-peers value | maximum number of P2P network peers. Default is 25. | |
--p2p-port value | P2P network listening port. Default is 11235 | |
--nat value | any|none|upnp|pmp|extip | port mapping mechanism. Default is any |
--help, -h | show help | |
--version, -v | print the version |
Step 3: Run Thor and connect to the API
Use the following command to start a container called mynode, that connects to the main network and allows you to browse the API by going to 127.0.0.1:8669 in your browser.
docker run --name mynode -d -p 127.0.0.1:8669:8669 -p 11235:11235 -p 11235:11235/udp vechain/thor --network main --api-addr 0.0.0.0:8669We will dissect this command now:
| Command | Explanation |
|---|---|
docker run --name mynode | create a new Docker container called mynode |
-d | to stop the container from displaying data in the command prompt |
-p 127.0.0.1:8669:8669 -p 11235:11235 -p 11235:11235/udp | to open up the necessary ports. |
vechain/thor | the Docker image to base your container on |
--network main | connect to the main network |
--api-addr 0.0.0.0:8669 | allow access to the API |
If you want your node to stop running you can run the docker kill mynode command.
You can now visit the API to interact with the blockchain by opening a browser and pointing it to http://127.0.0.1:8669


")
Hi Ben, I managed to install a docker node. After half a day or so my node was completely synced with mainnet. However, upon a reboot of my PC I struggle to get my node working again. Tried most of the –help options but struggling. Any tips?
Hello there, You’ve done a fantastic job. I’ll certainly digg it and personally recommend to my friends. I am confident they will be benefited from this site.
Hello, you used to write fantastic, but the last few posts have been kinda boringK I miss your tremendous writings. Past several posts are just a bit out of track! come on!
I believe this site has got some rattling excellent information for everyone. “Dealing with network executives is like being nibbled to death by ducks.” by Eric Sevareid.